PROJECT 442: Pictures
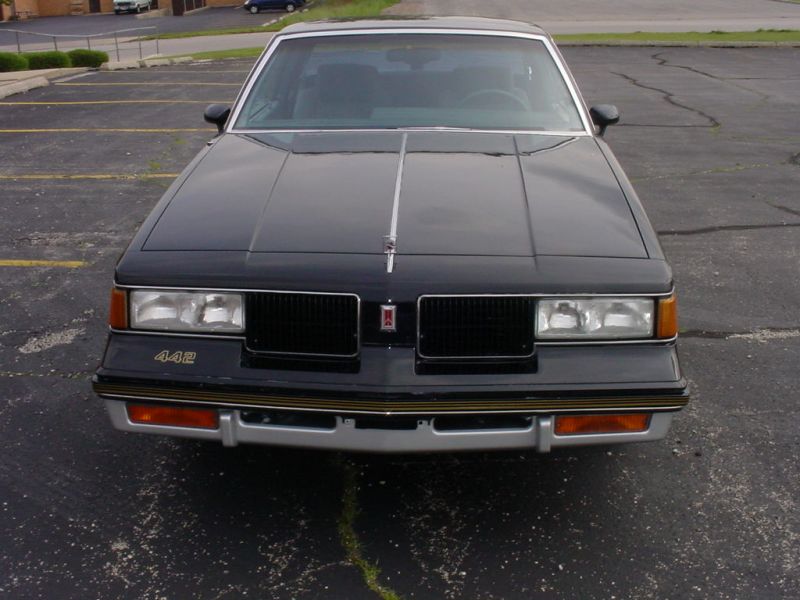
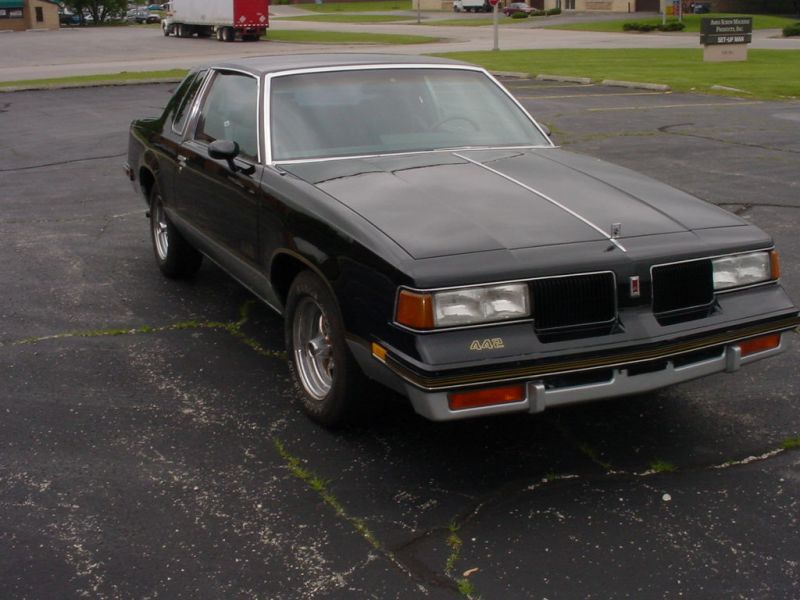
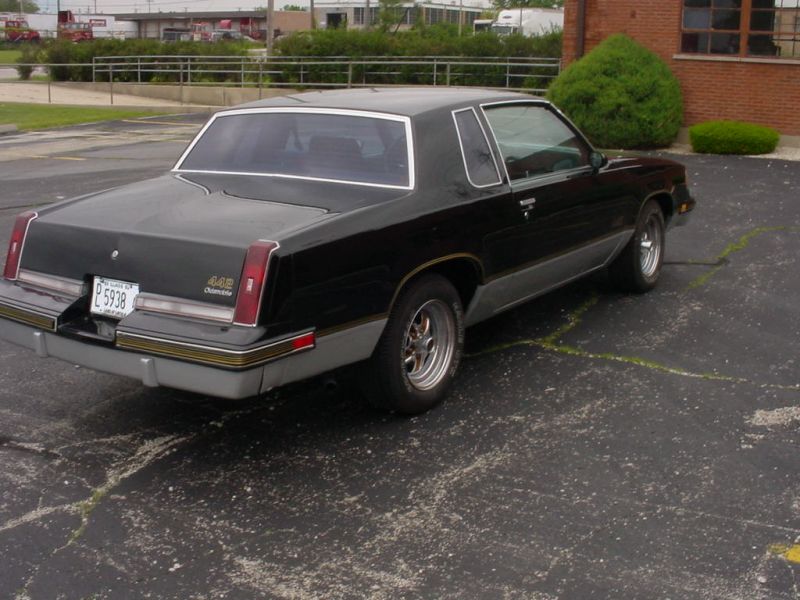
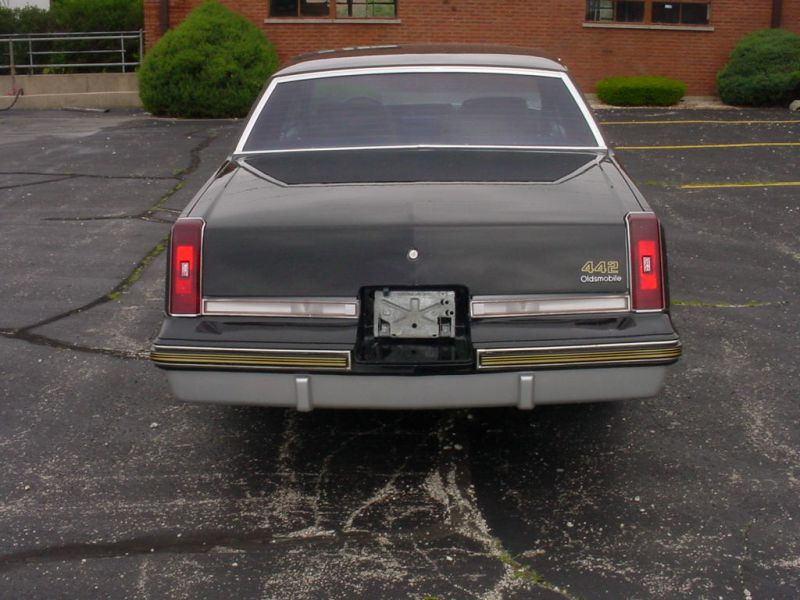
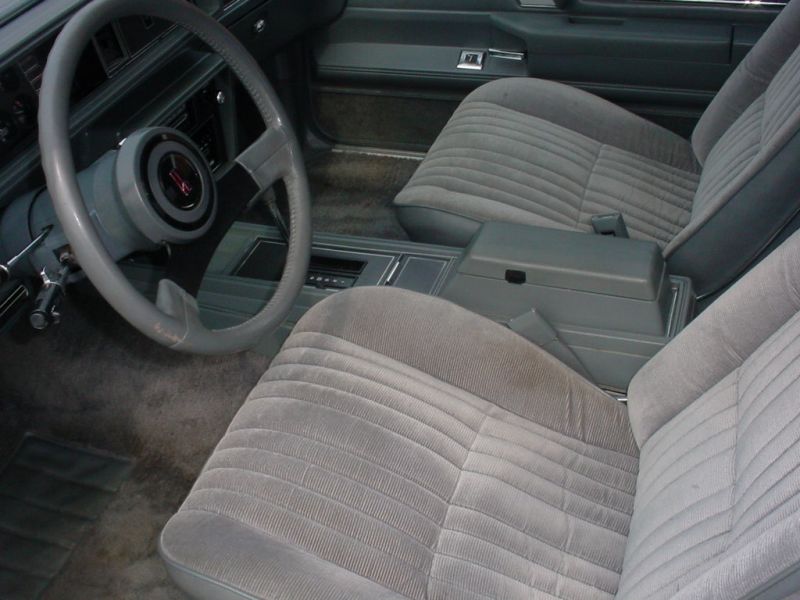

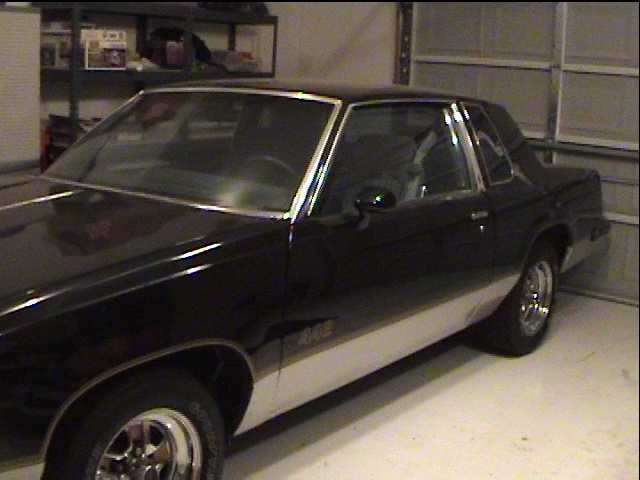


This is how she looked when I picked her up. Pretty
good for her age. Some quarter panel issues I'll have
to deal with, but not bad. Who ever did the paint job
put the 442 front bumper sticker on the wrong side.
The most important thing is she's all stock and all the
parts are there. I bought the car and drove 12 hours
straight to get back home. She drove like a dream!!
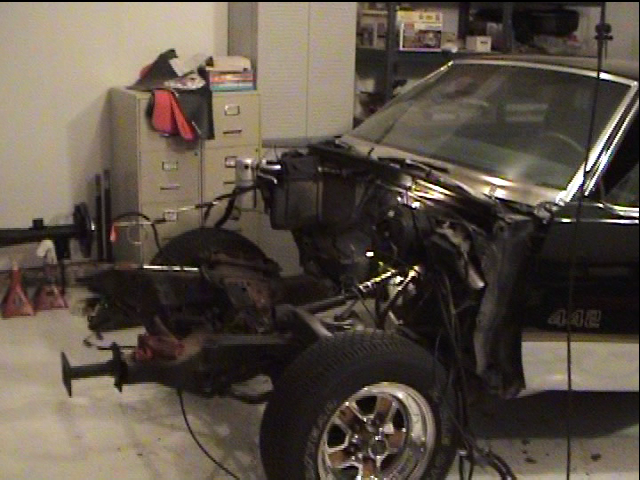
Home sweet home. This is where all the work will take place, on my side of a
two car garage. I will remove the frame, replace the entire drive train, do all
the suspension and brake work, ect ect. I've already started getting the
pieces and parts needed to get going.
two car garage. I will remove the frame, replace the entire drive train, do all
the suspension and brake work, ect ect. I've already started getting the
pieces and parts needed to get going.
Click on the images to enlarge them in a new window
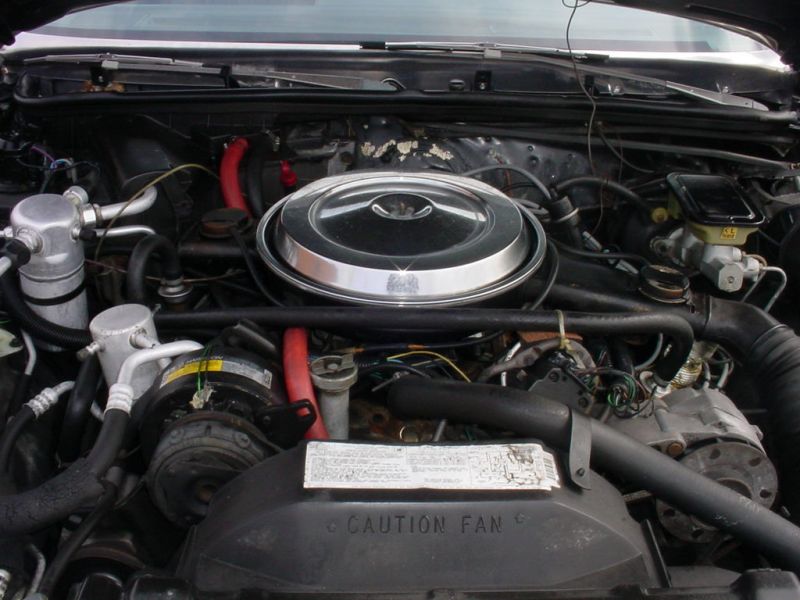
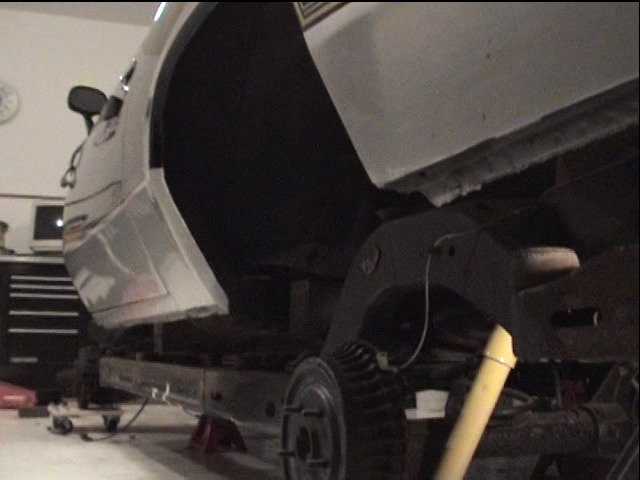
Here's a shot of the front sheet metal removed and the engine pulled. Even
with checking and rechecking that all wiring connectors and cables were
disconnected and moved, I still managed to hang the trans on the shifter
cable while pulling the motor assembly. Broke the cable. There's a $60
mistake. Except for that it was a breeze. No broken bolts during
disassembly, no cursing or screaming, and best of all...no bleeding. That's
usually how I know the job is done (bloody knuckle or finger).
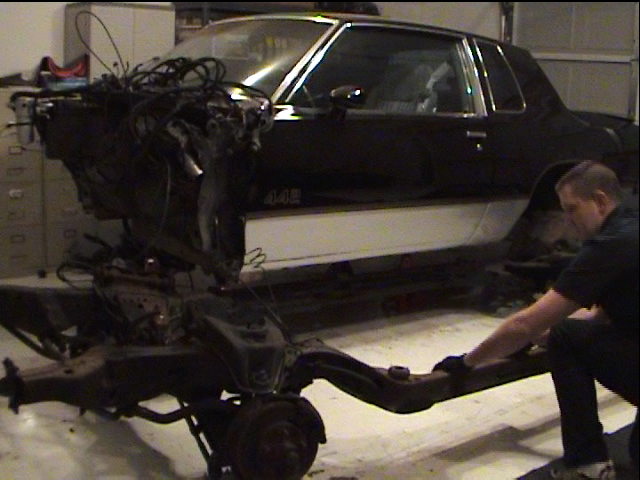
STAGE 1 - Frame Restoration
With all the body bolts removed I began to slowly lift the body up and away
from the frame. I did this by using 8x8 wood blocks held by jack stands
under the floor pan and a floor jack. I would raise the body up one jack
stand click at a time moving from front to back. When I had enough
clearance I jacked the passenger side up from the middle of the car until the
two jack stands on that side were no longer under weight. I moved the two
stands and slid the frame rail on that side to the center of the body (the
frame is on home made casters). I repeated the procedure on the other side
and pulled the frame completely out. I did this alone to demonstrate it could
be done. USE HELP, it's worth the pizza and drinks for peace of mind.
Extra hands make light work.
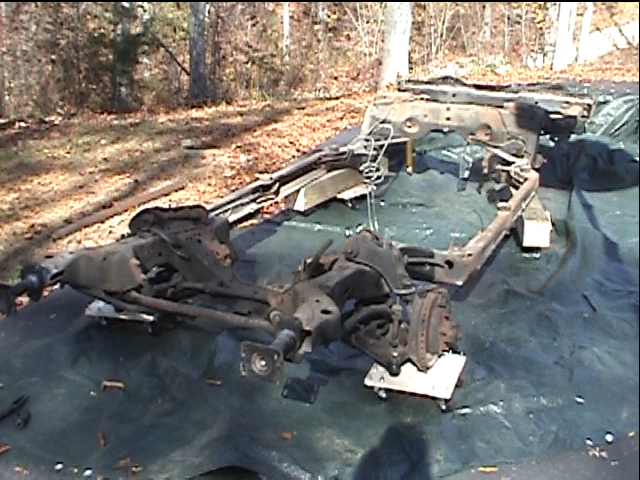
Here is the frame out in the driveway. All the suspension pieces, fuel and
brake lines were removed until only the bare frame was left. Sand blasting
took forever. If you look in the second picture you'll see me using a small
portable blaster. Even with a ton of sand I had to keep stopping to refill the
stupid thing. I'm glad to say "I did it myself", but it's worth farming it out if
you can. If not, use a better blaster. The one I had was the wrong size tool
to handle this size job.
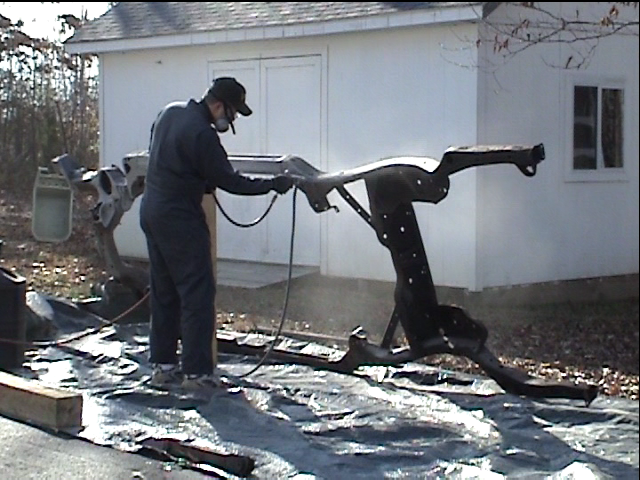
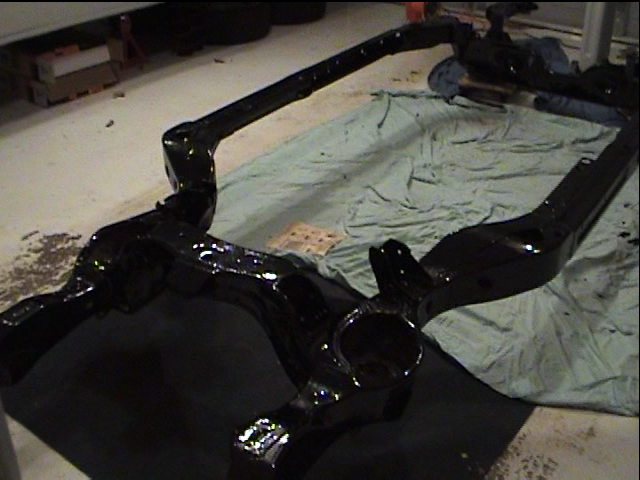
That's better! All clean and nothing but bare metal. If it looks funny it's
because the frame is flipped upside down. This will be the side that's visible
when your looking underneath (and I will show everybody willing to lay on
the ground and see), so this is the side I will do first to make sure it looks
pretty. I'm using an epoxy paint called "Chassis Saver" from Magnet Paints.
It's a high build coating in gloss black. Once on and cured you would need
a hammer and chisel to get it off. Good stuff!
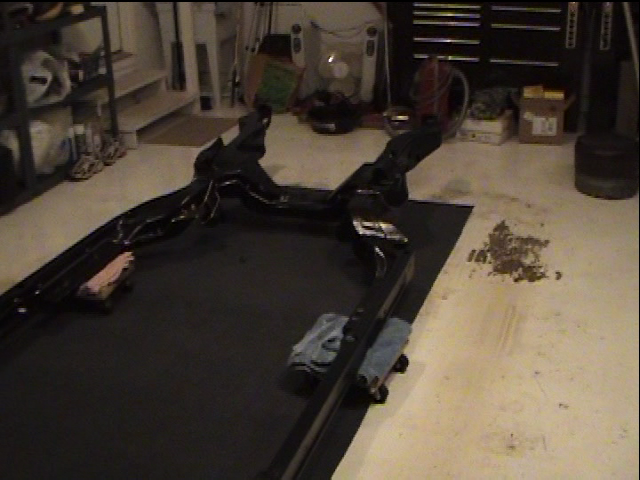
Now we're getting somewhere! The "Chassis Saver" went on fairly easy.
You just brush it on with a paint brush and it levels out with no brush marks.
Beautiful! Be careful around threaded holes. If this stuff gets in the threads
you will need to chase it with a tap to clean it out. No joke, this stuff dries to
a rock hard finish. After the Chassis Saver was on I painted it with
Eastwood's Extreme Chassis Black "Satin" paint. Why?? I like the look of
the stock flat black for the frame. Magnet Paints now has a flat black as well
as gloss if you like the same look.
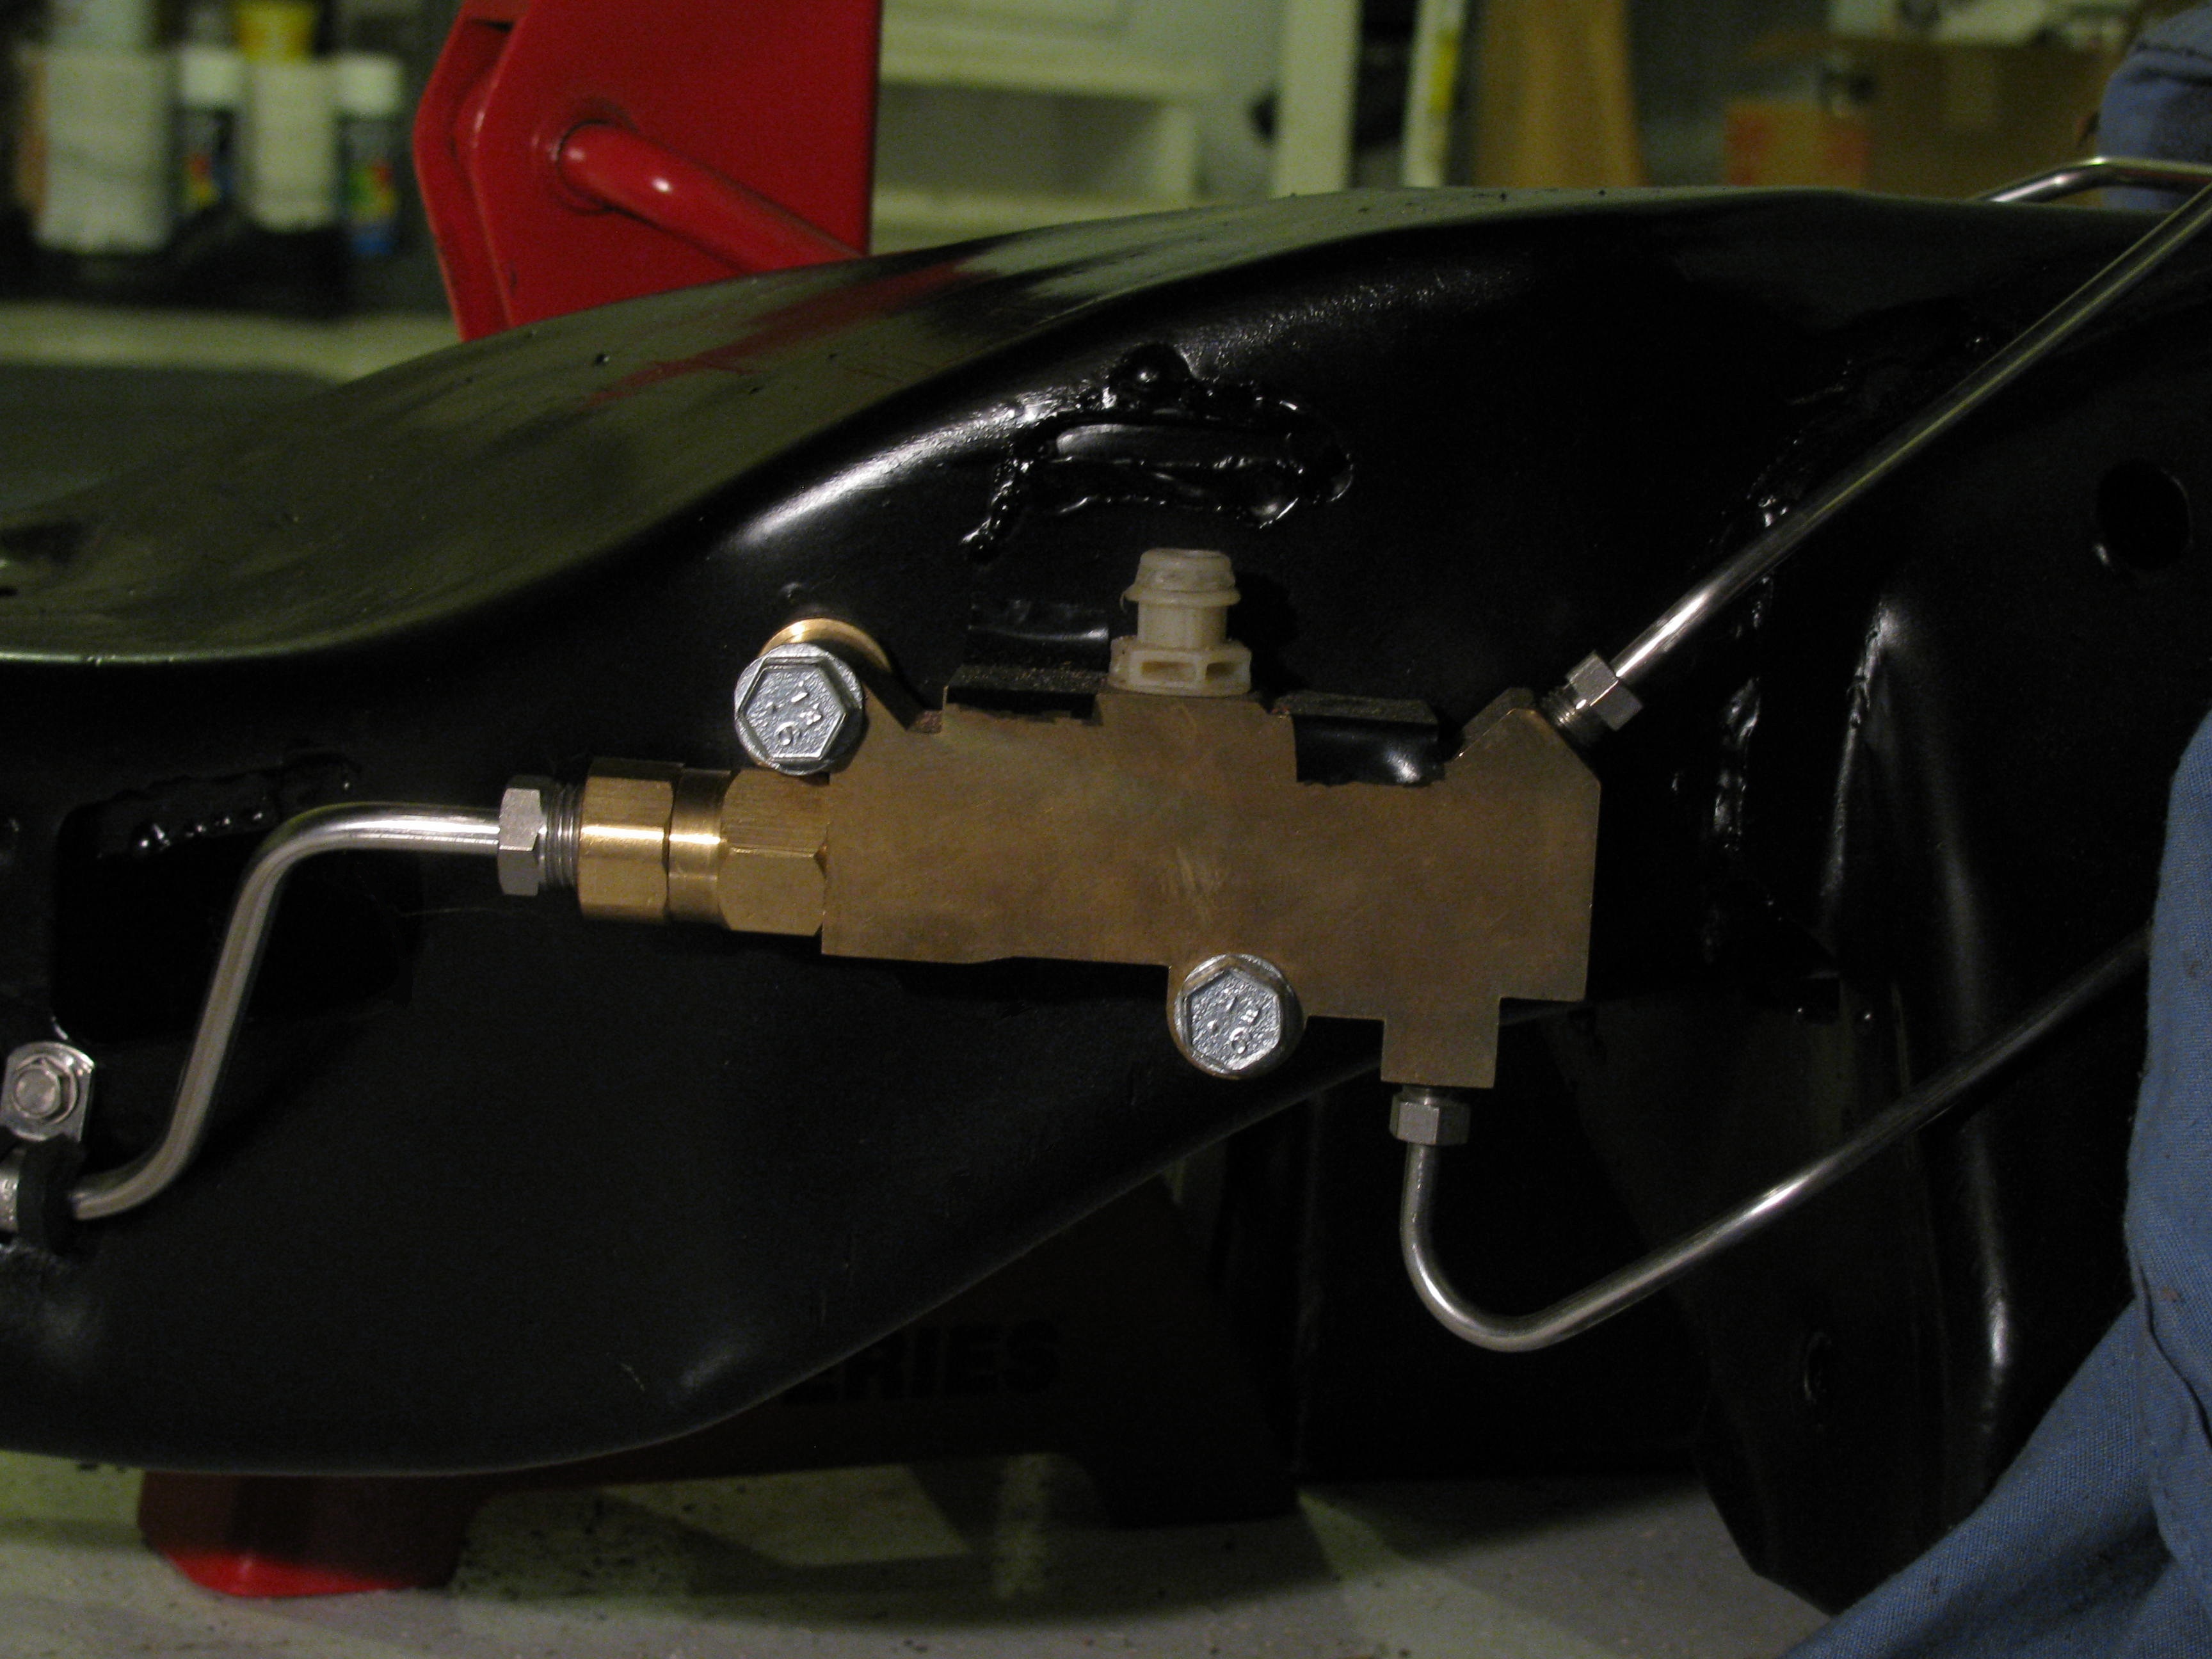
All done and ready to go back under the body. I think it looks much better in
satin black. I even put the stainless brake lines on along with the new Inline
Tube proportioning valve. It is designed to let you run rear disc brakes with
your original master cylinder and it carries a part number of PR-101.
satin black. I even put the stainless brake lines on along with the new Inline
Tube proportioning valve. It is designed to let you run rear disc brakes with
your original master cylinder and it carries a part number of PR-101.
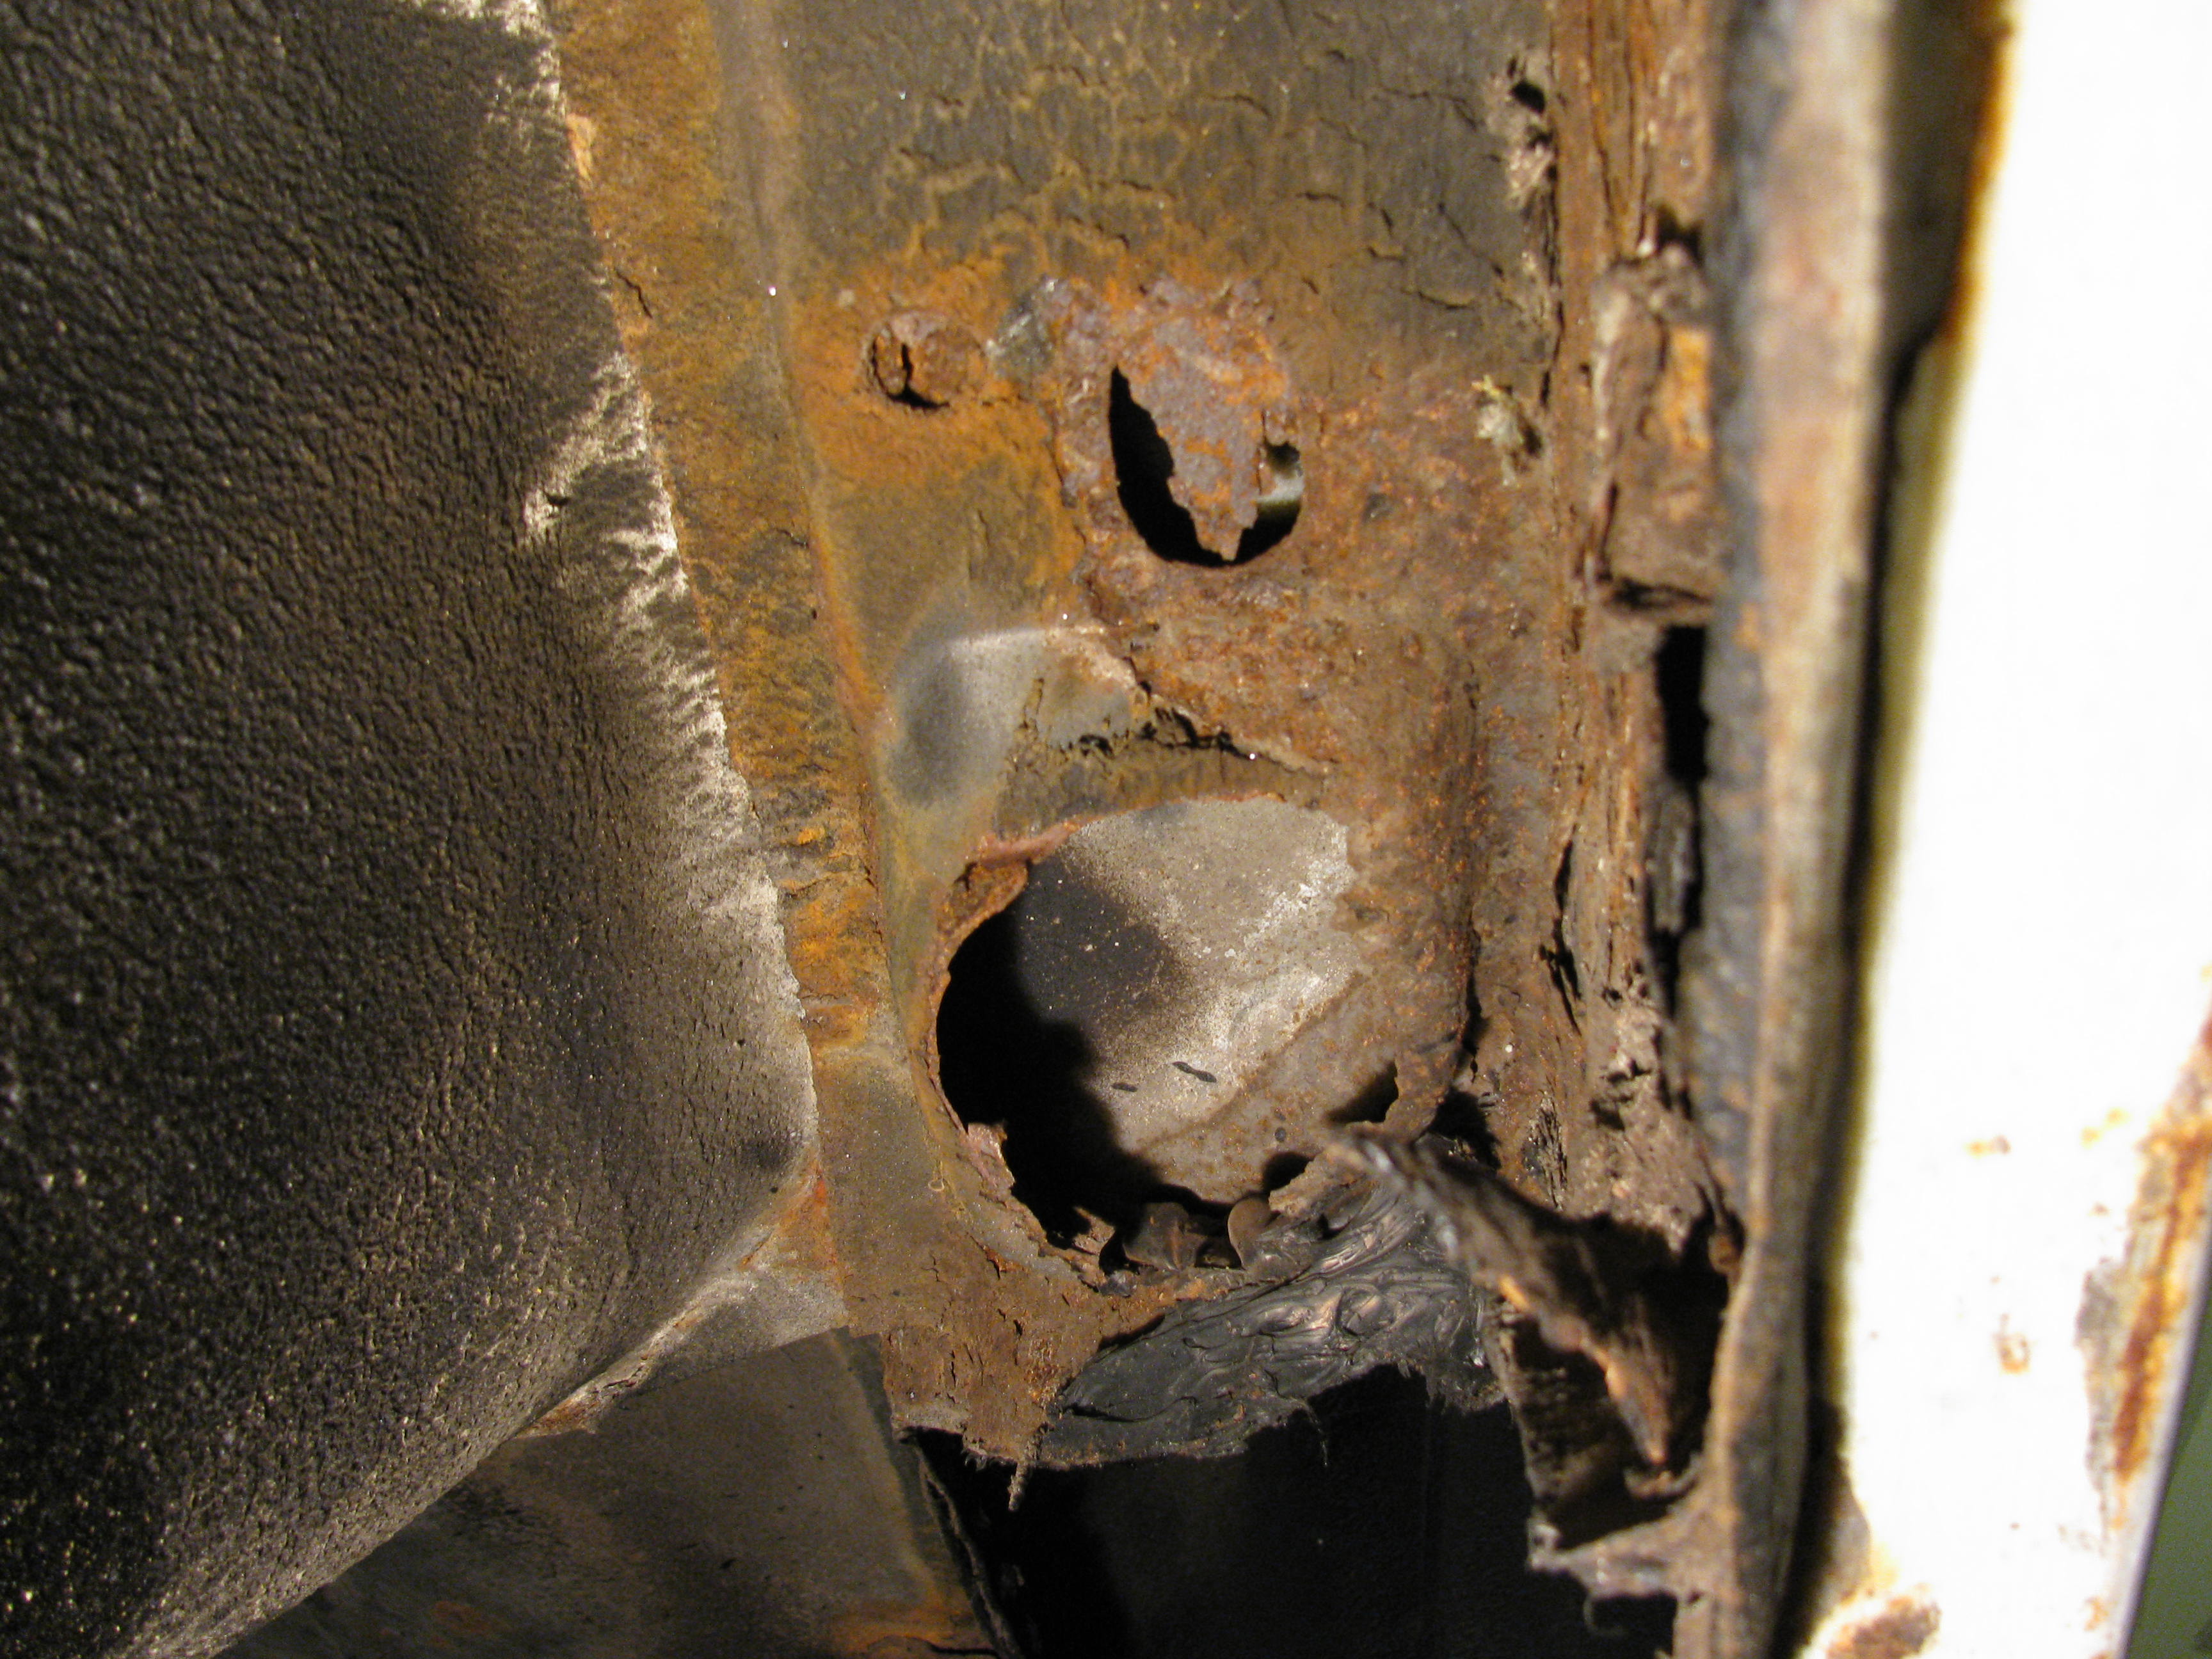
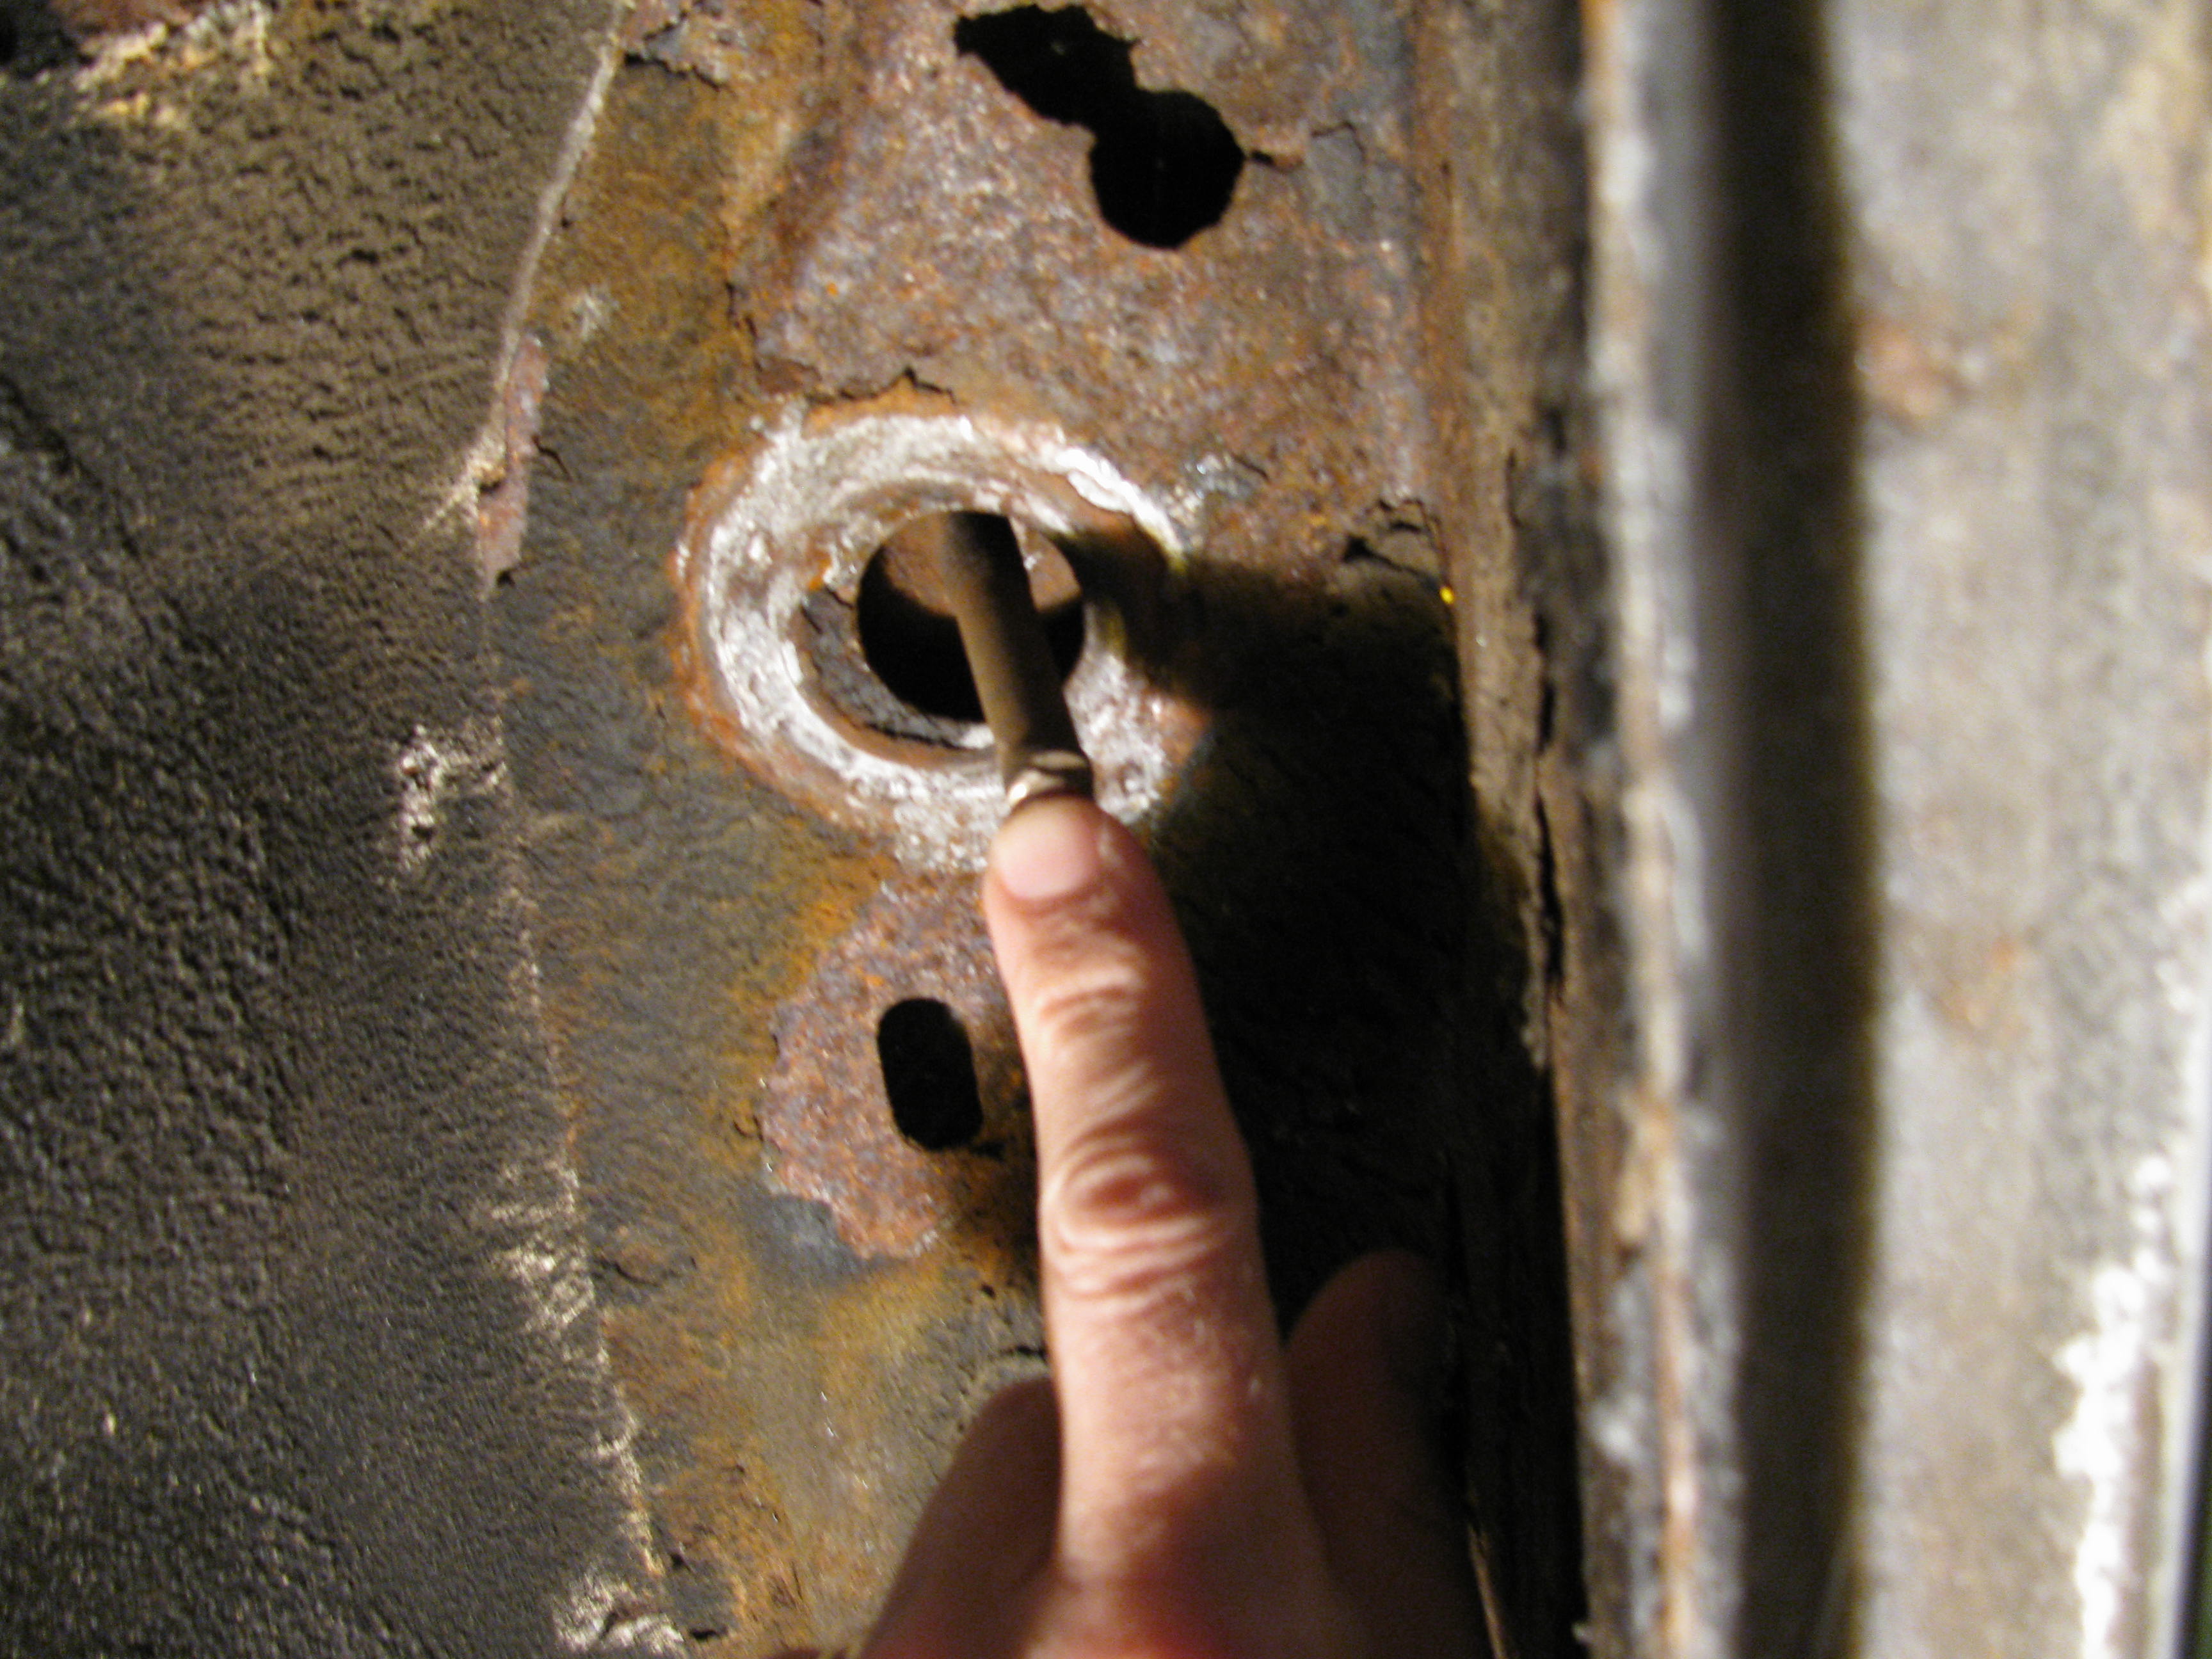
RUST, The "R" Word, Car Cancer or whatever you call it, is going to be a
part of your project in some way. On a G-Body this will show up in the
bottom of the doors, the quarters, and the rear frame rails and/or the body
sheet metal. Mine is in the rear sheet metal above the frame rails where the
body bolts go. The driver side rear came out OK, but the one in front of that
(just behind the rear wheel well) just spun and had to be cut off. The same
bolt on the passenger side also spun when I tried to take the bolt out and left
a gaping rust hole (first picture). The one behind it (the far rear body bolt)
just spun and I had to cut the bolt head off that one too.
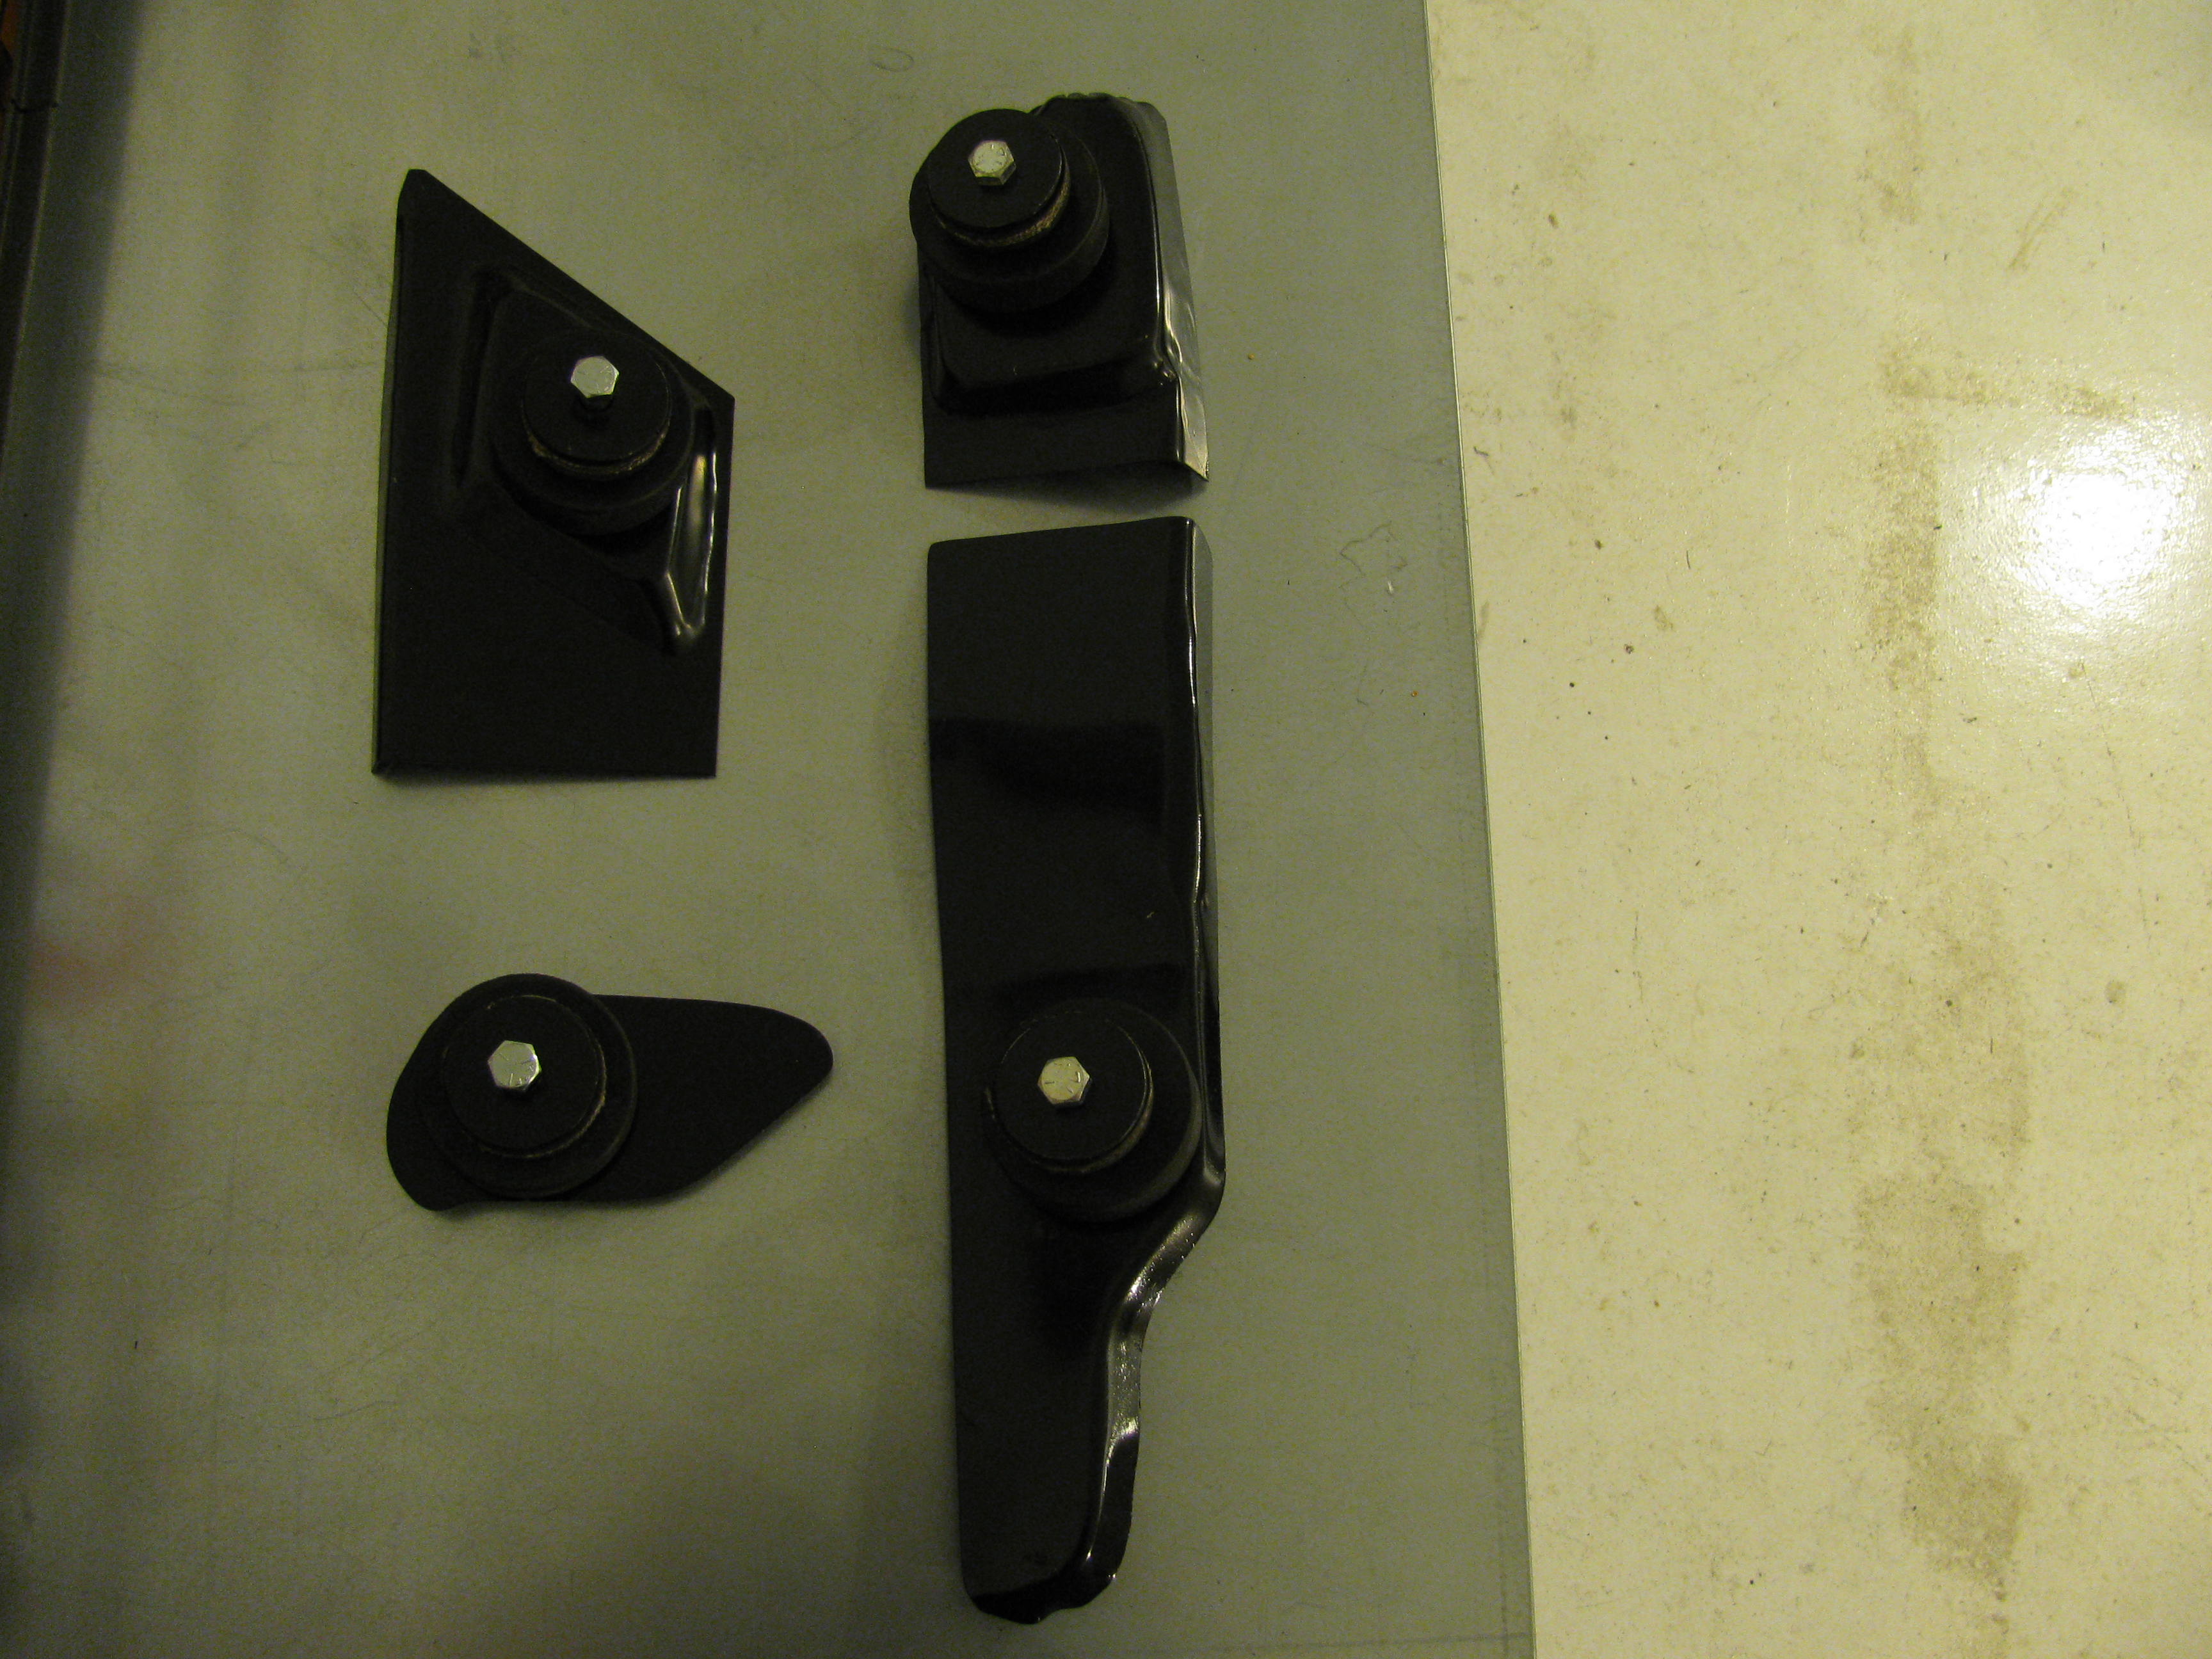

I found a guy that makes replacement sheet metal and frame rails for
G-Body's. His name is Conrad Lozier. I bought all 4 rear replacement sheet
metal pieces. The rear drivers side is not rusted out, but I will probably
replace them all. The price was excellent, he was easy to work with, and the
shipping was fast. Look on the internet long enough and you can find
anything.